
Sharpening a V-Chisel...
- John Madden

- Jun 24, 2025
- 4 min read
Updated: Sep 2, 2025
Some call the V-chisel a gouge, some call it a Parting Tool. Let’s not argue about it. Following on from Mary May’s article about Sharpening Curved Gouges, here is another little piece about sharpening the very useful V-chisel. And as before, this is Mary’s personal step by step process of sharpening a V-chisel entirely by hand using only stones and a leather strop. Enjoy!
Sharpening a V-chisel (or Parting Tool)
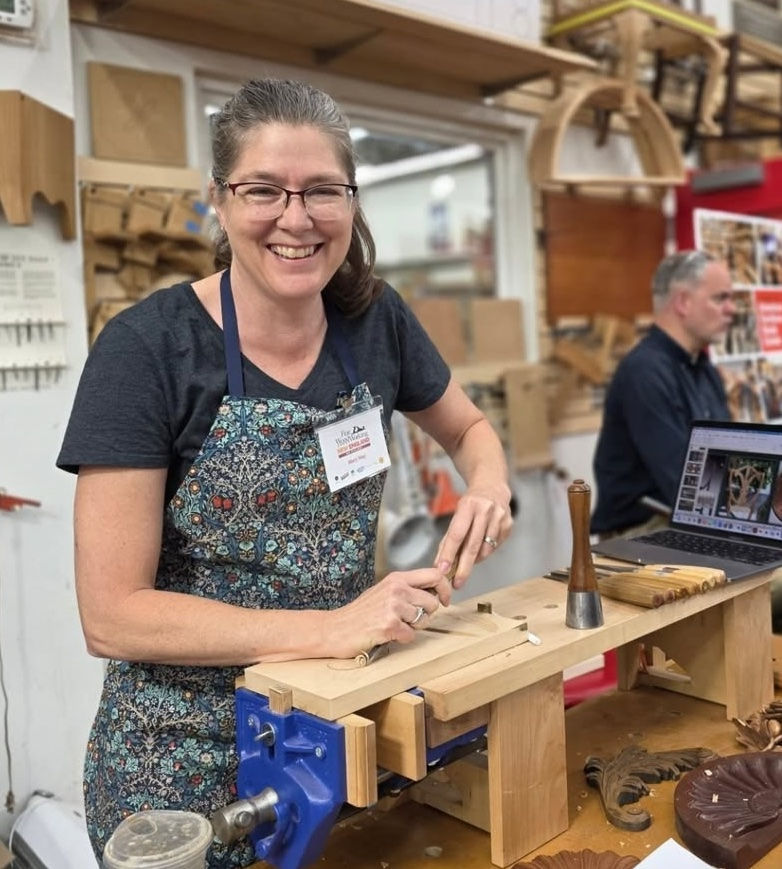
by Mary May
STEP 1 - Using a Sharpening Stone
The V-chisel, or parting tool is shaped like a “V” with two flat sides. It is one of the more challenging carving tools to sharpen and one I use often in carving.
Start with a lower grit stone to remove more metal quickly. Move to a finer grit stone for the final honing to create a mirror finish. I start with a 1200 grit diamond stone and move to an 8000 grit diamond stone for the final mirror finish. Any type of stone with the equivalent grit can be used.

Steps 1 – 6 explain how to sharpen each side as if it were a flat chisel. Any method used to sharpen a flat chisel works.
1. Position your sharpening stone perpendicular to the edge of the bench on a non-slip pad.
2. Put recommended lubricant on the stone. I use water for my diamond stones.

3. Position one flat side of the v-chisel against the stone.
4. Hold onto the handle of the v-chisel with your dominant hand. With your other hand, place two fingers about an inch back from the blade, and apply moderate pressure to the metal shank.
5. To ensure the bevel is flat against the stone, raise and lower the handle like a lever while maintaining pressure on the shank until you feel a slight click as the flat of the bevel meets the stone.
6. Push the v-chisel forward and backward across the stone, keeping your wrist locked so that the bevel does not become rounded.
TIP: To make sure that the v-chisel is placed on the stone at the correct angle, colour the entire bevel with a waterproof marker. After moving the v-chisel across the stone several times, look at the bevel to make sure the marker is being removed along the flat surface of the bevel. If the marker is removed just at the tip of the blade or just at the heel of the bevel, adjust the angle.

7. Continue moving the gouge across the stone until a tiny wire edge appears along the inside of that side of the blade.
8. Repeat steps 2 – 7 to sharpen the other flat side of the v-chisel.
9. This next step causes the most challenge in sharpening. If you look closely at the end of a v-chisel, the inside corner usually has a slight radius and is not a sharp “V”. If both sides are sharpened like individual flat chisels, a sharp corner is often formed at the outside corner of the tool. This creates a tiny point, or thickness of metal that sticks out at the tip. Without removing this, it is very difficult to get an edge fully sharpened.

10. The way to remove this tiny point of metal is to sharpen just the outside corner as if it were a small curved gouge – to make the outside radius the same shape as the inside radius. Lay the entire outside corner of the bevel flat against the stone, rotating it along the stone as you would a tiny gouge. Do this until the outside corner is rounded to match the inside radius. The small metal point will eventually disappear.
NOTE: If you remove too much metal at the corner, you will create a notch in the corner. If this happens, the only way to correct this is to lower the flat sides further.
11. At this point, change to the finest sharpening stone, and repeat steps 2 – 10 to create a polished, mirror surface on the bevel.
STEP 2 - Using a Slip Stone
1. Using a slip stone with an angle slightly smaller than the inside angle of the v-chisel so that it fits freely inside the tool, run the stone along the entire inside edge of the blade to push the wire edge to the back (bevel side) of the chisel.

2. Take the v-chisel back to the sharpening stone, using the main sharpening process shown above. This includes the outside corner as if it were a small, curved gouge. Do this only long enough to push the wire edge back to the inside of v-chisel and remove the tiny point of metal.
3. Repeat these steps until the wire edge is completely removed.
STEP 3 – Using Strops
A strop is used to create the final polished edge on a v-chisel. Read “Sharpening a Curved Gouge” to learn more about strops.

1. To strop the back of the v-chisel, pull it straight back several times along the surface, positioning the bevel flat against the strop. Don’t forget about stropping the outside corner also.

2. To strop the inside of the v-chisel, pull it backwards along the V-shaped piece of wood keeping it as flat as possible. I do not recommend putting a piece of leather on this shape. The thickness of the folded leather can prevent it from reaching into the inside corner of the v-chisel. I simply put sharpening compound straight on the surface of the shaped piece of wood.
Mary May is a professional woodcarver with over 30 years’ experience who has studied the European style of traditional woodcarving with a variety of master carvers. Mary specialises in the classical techniques focusing on decorative furniture and architectural details. Her driving passion is to create beautiful woodcarvings and to keep the art of traditional woodcarving alive and well through teaching others the craft.


Comments